
只讲重点,安装注册就直接参考官网即可
[TOC]
# 1. 安装 node.js:
参考网址:
# 2. 注册 GitHub:
网址:https://github.com/
# 3. 安装 Git 代码提交工具
参考网址:https://blog.csdn.net/m0_72983118/article/details/130546429
# 4.Hexo 使用
# 1. 在桌面创建个人博客文件夹
# 2. 在文件夹中右键打开 GitBash
操作参考:https://hexo.io/zh-cn/
具体步骤:GitBash
1 | $ npm install hexo-cli -g |
然后根据网址打开博客就可以看到在本地的博客了
# 3. 新建文章
1 | $ hexo new '我的第一篇文章' |
# 4. 刷新清除缓存重新生成博客
1 | $ hexo clean |
然后就可以看到你的第一篇博客了
# 5. 接入主题
点击 Hexo 官网的 "主题",挑选自己喜欢的主题
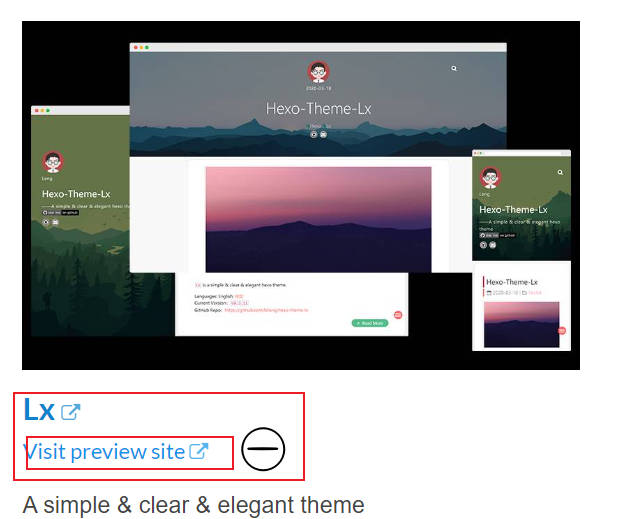
点击第二行可以跳转主题详情根据中文文档部署设置自己的主题
# 5. 部署到 github 的流程及配置
# 1. 创建个人博客仓库
1. 点击右上角 “+”> "New repository"
2.Repository name(仓库名)必须与博客名一致
3. 勾选下面的 addReadme 文档的选项
4. 点击创建 Create repository
# 2.Hexo 安装一键部署
1 | $ npm install hexo-deployer-git --save |
# 3. 修改配置文件
# 1. 上传配置文件
1 | deploy: |
repo: 点击 github 仓库中的 code/SSH 复制粘贴即可
1. 没有 SSH 的可以创建公钥前提是要配置完 gitbush
1 |
|
2. 使用 ssh 创建公钥私钥
1 | $ ssh-keygen -t rsa |
复制公钥到 github>setting > 创建公钥
3. 复制 SSH
在创建的仓库中点击 codeSSH 复制公钥粘贴到 repo
# 2. 打包上传博客
1 | $ hexo clean |
# 3. 更改分支为 gh-pages
仓库 > setting>Pages>Branch 将分支切换为 gh-pages
# 4. 修改配置文件 _config.yml
找到 URL 修改为自己的博客地址
可以在 setting>pages 顶部复制自己的博客地址
1 | # URL |
# 5. 重新上传覆盖之前的文件
1 | $ hexo clean //清除缓存 |
这篇文章就讲到这里,有什么疑问可以私信我的邮箱,或者在评论区留言